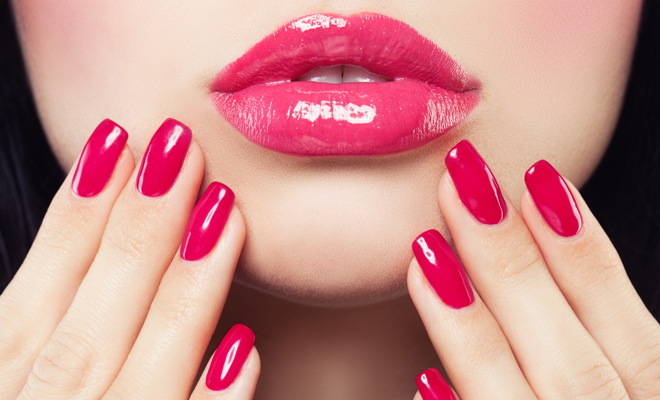
Have you heard of the Russian manicure? I’m sure it will, from now on it will be on everyone’s lips. So, since you also like trying new and beautiful things for your, you decide to investigate a little more to find out what the Russian manicure is and how you could make it yourself. If so and you get to read these lines, perfect! We are going to give you some VERY simple steps to do it at home and we will also answer all your questions about this type of manicure. Let’s see it!
Russian manicure or hardware manicure: what is it?
The origin of this manicure, as its name reveals, is in Russia. There, the manicure is synonymous with elegance and femininity, and that is why they are always up to date when it comes to having and modern nails as they could not.
This innovative enamel technique consists of filing the cuticle and surrounding skin with an electric lathe and burs, as well as cleaning any remaining dirt. The nails are completely clean and cuticle-free. It is a technique that is done dry with which you can polish closer to the skin; the results are impeccable nails for longer.
What do I need to do the Russian manicure at home?
To get the Russian manicure you will need each and every one of the materials that we detail here. First of all we must tell you that it is a method that gives great results, but it must be done properly. Read carefully the steps that we detail and, when in doubt, pay a visit to your usual beauty center. To do the Russian manicure you will need:
- A lathe that does not emit any vibration.
- High performance diamond burs.
- Permanent enamel, normal or gel polish. You can also choose if you want acrylic or gel nails
- Primer or base for nails.
- Cuticle oil.
It goes without saying that all these materials must be of high quality, only then will you get the results you expect.
How to do the Russian manicure step by step
It is time to see step by step how to give life to this manicure that is so fashionable. That said, pay attention and you will avoid making any mistake that ruins your Russian manicure.
-
Step 1: Clean the skin of your nails
First of all, clean the skin around the edges of to remove any remaining dead cells or dirt. We clean with a soft brush and disinfectant.
-
Step 2: Treat the cuticle
In this step we are going to lift the cuticle with the help of lathes or strawberries. Be careful, do not hurt your skin.
-
Step 3: Polish the nails
The Russian manicure differs from the conventional one because of the exhaustive polishing that is done on the nails. It’s about polishing the hard skin that has come off due to typical dryness. We file the surface of the nail with the strawberries and we will do it very carefully.
-
Step 4: Apply normal, permanent nail polish or gel polish
Apply the chosen product without leaving any space between the nail and the skin. This is how a job well done is left. Putin the color that you like or design your nails with nail art. Up to you!
-
Step 5: Moisturize the cuticle
The last step, just as important as the previous ones, is to hydrate the cuticles well with specific oil.


